

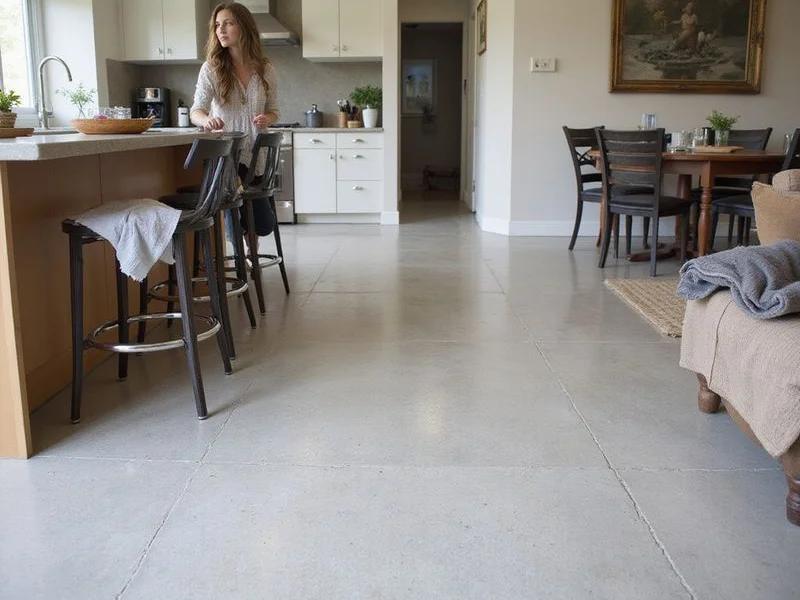
Exposure comes first, and you can't undo it
A polished floor's look comes down to two choices. Polished concrete aggregate exposure, meaning how much of the stone and sand shows, is the one you can't undo. It's set by how deep we grind on the first passes, and once that's done, there's no going back. Sheen, or how shiny the floor is, gets decided later and is much easier to change.
That's why we spend more time on exposure than on anything else when planning a home floor. See our residential polished concrete page for how it fits the rest of the process.
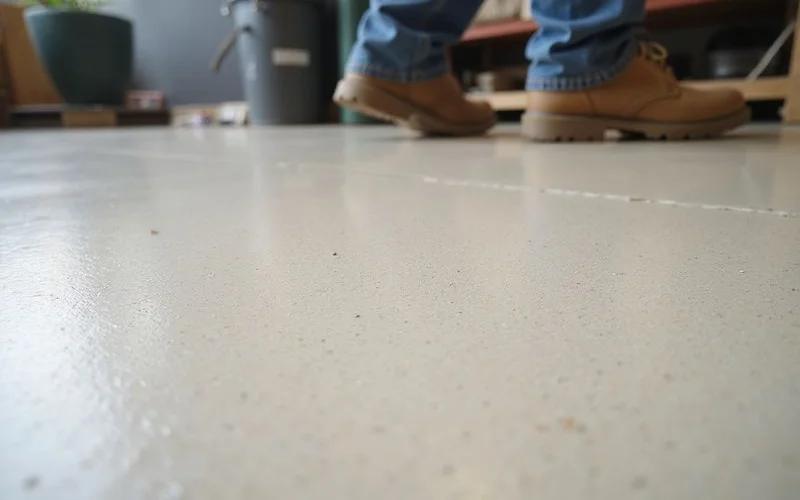
The exposure classes
The Concrete Polishing Council's chart uses three classes: A for cream, B for fine, and C for coarse stone. Many contractors, us included, split Class C into medium and large, so you'll often see four. Each class is a range, not an exact measurement, because concrete never behaves that precisely.
Class A: Cream. Little to no stone showing. You're polishing the thin cement layer at the very top of the slab. It looks soft and all one piece.
Class B: Fine (salt and pepper). A shallow cut that shows sand and the smallest stone as fine, even specks. It's one of the most common picks for homes.
Medium (Class C). A deeper cut showing a mix of small stone and some larger pieces, which gives you a middle ground with more going on than salt and pepper.
Large (full Class C). A deep cut that slices through big stones so you see their full faces. It's dramatic, but only possible if your slab has the right stone in it.
How cut depth changes the look
| Class | Typical cut | What you see | What the slab needs |
|---|---|---|---|
| Cream | Very light | Smooth cement, almost no stone | Flat, well finished, even pour |
| Fine | Shallow | Even sand and small stone | Many solid slabs work |
| Medium | Moderate | Mixed sizes, lots of variation | Stone spread fairly evenly |
| Large | Deep | Big stones, sliced open | Good stone close to the surface |
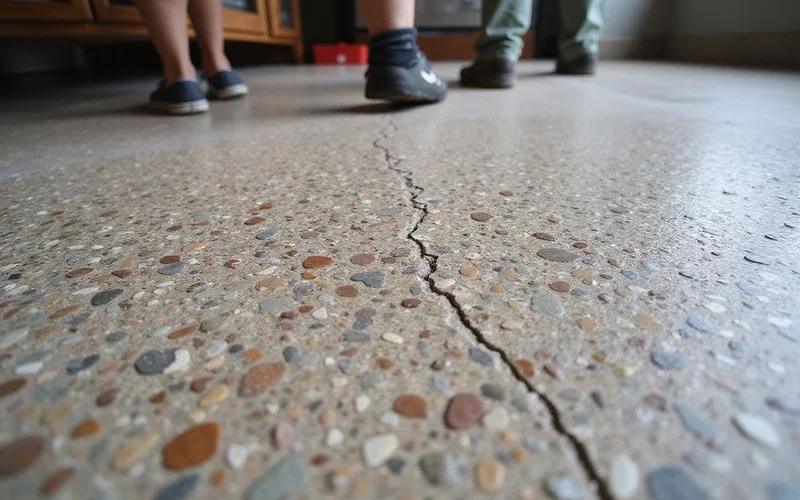
Why your slab, not the contractor, sets the limit
A structural slab is poured for strength, and the stone lands wherever the mix, the pour, the vibrating, and the finishing put it. Nobody placed that stone to look good.
That means two things. First, your slab may not have deep exposure to give. Grinding further to chase it can eventually hit the steel inside the slab, and you don't want to go there. Second, even when we can reach it, the stone may be spread less evenly than in a showroom sample, which was probably made just to look good.
On new construction, you can shape this by choosing the mix before the pour. On an existing slab you find out by grinding.
Grit numbers don't tell you the exposure
Exposure usually comes from the first passes, with coarse diamonds held in metal. Sheen usually comes from later passes with finer diamonds held in resin. A quote that says “polished to 1500 grit” covers the second choice and skips the first one.
Exposure and sheen, decided separately
In most cases we can finish any exposure class to any sheen level. A matte floor with big stone and a high gloss cream floor are both totally normal choices.
In daily life, exposure affects how forgiving the floor is. More texture gives your eye more to look at, so it tends to hide dust, light scratches, and slab variation. Cream is usually the least forgiving finish in a busy household, whatever the sheen. We cover the sheen side in our finishes guide. If your floor is going into a new pour, exposure gets decided much earlier. Our guide on planning polished concrete for new construction covers that.
Consistency across a floor
One more thing worth knowing: how even the exposure is. Even in a single pour, the depth where stone shows up varies a little. Over a big area, grinding to one depth can show more stone in one spot than another.
We work to keep it close, but concrete is never perfectly even. If an even look comes first, say in a branded commercial space or for anyone who dislikes variation, a polishable overlay usually gives you a far more consistent surface.
Exposure and light
The same exposure looks different from room to room, which catches people off guard when they pick from a sample in a showroom or a garage.
Daylight from a window or a glass storefront skims across a floor and brings out the texture. In that light, salt and pepper looks busier than it does under even overhead lights, and cream looks flatter and calmer.
Indoor lighting flattens texture. A floor picked under strong ceiling lights can look much busier once low morning or late afternoon sun hits it.
If your job has a test patch, look at it in the room it's going in, at the times of day you really use that room. Photograph it, then look again the next day. First impressions of a floor sample are often wrong.
Putting exposure in the contract
Once you decide, we write the exposure class into the scope of work so it isn't just something we talked about. What to write down:
- The exposure class you agreed on, in plain words (cream, fine, medium, or large)
- If you approved a sample, that it's what we judge the floor against, and where it's kept
- That you should expect some natural variation across the floor
- What happens if the slab can't reach the agreed class once grinding starts
That last one matters most. Now and then a slab won't give the exposure a small test patch suggested, because the stone isn't spread the same way across the whole floor. Agree ahead of time how you'll handle that: change the class, or accept the variation. It can save a hard conversation later.
How to pick with confidence
- Look at samples to understand the four classes.
- Ask whether a test patch on your own slab at the class you like makes sense.
- Look at it under your room’s own light, at the time of day you use the room.
- Think about how forgiving the floor needs to be day to day.
- Get the class in writing, and if there's a sample, approve it before we do the full floor.
Send photos and the rough floor size. One of our estimators will give you a first read on which classes your concrete might give you. When the job calls for it, a test patch can show it before you commit.