

The moment the tile comes up
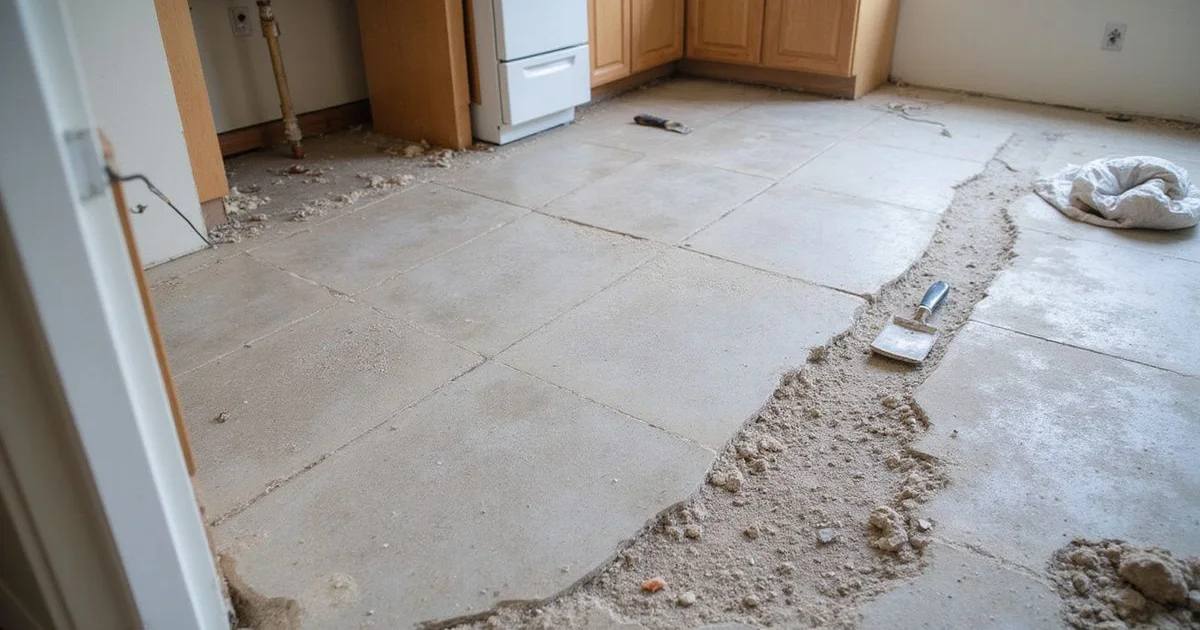
You've pulled up tile that's forty years old and the dumpster is gone. Now you're standing in an empty room, looking at a slab nobody has seen since the house was built. This is where a lot of home polishing jobs in Austin start, and it's where we need to be honest about what to expect.
The short version: polished concrete after tile removal is often possible, but how the slab looks afterward varies a lot. A small test patch, ground on your own floor, is often the best way to know, and we'll talk about whether your job calls for one during the consultation. We explain how we check a slab on our residential polished concrete page.
What you'll likely find
Thinset ghosting. Tile sits in a mortar called thinset, and where it stuck hardest, it soaked into the concrete. After grinding you may still see a faint grid following the old tile layout. It usually fades the deeper we grind, so it's tied to how much stone you want showing.
Tack holes. Carpet tack strips were nailed down, usually around the edges of every room. Each nail leaves a small hole, and we typically fill those during prep.
Glue across the whole floor. Glued down carpet, vinyl, or engineered wood leaves adhesive everywhere, not just at the edges. We usually grind it off. That's slower than a chemical stripper, but it leaves bare concrete instead of solvent residue.
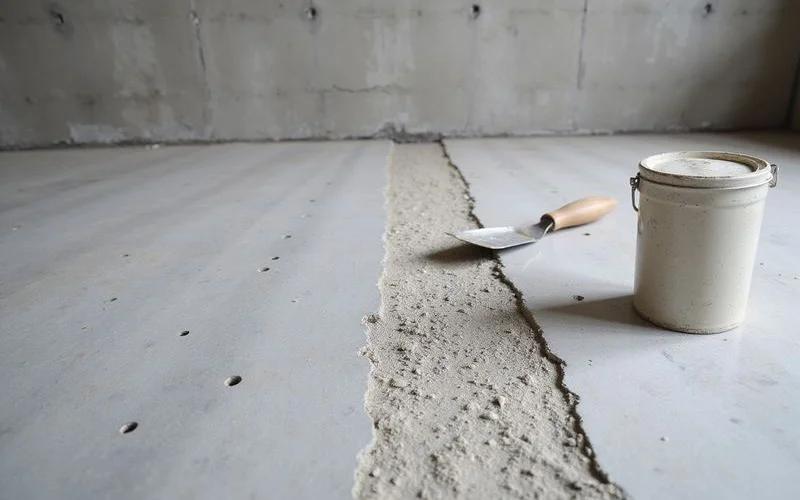
Trench lines and patches. Plumbing or electrical work cut into the slab at some point, and the channel was filled with a different mix. It polishes, but it shows as a separate band.
Level changes. Room additions, enclosed patios, and converted garages often sit a little higher or lower, or were poured with a different mix, and both show.
How glue removal changes how much stone shows
This is the big one, and it catches people off guard.
To get rid of every trace of glue, we may have to grind deeper than the finish you picked. Going deeper pushes a cream finish, where almost no stone shows, toward salt and pepper, and salt and pepper toward more exposed stone. So you have a choice: a cleaner floor with more stone showing, or the look you first picked with some of the old tile pattern left.
Neither answer is wrong, but we'd like you to make the call before the whole floor is ground. When the job calls for one, a test patch helps.
Repairs, and what they look like afterward
| Feature | What we do | How it looks after polishing |
|---|---|---|
| Tack holes | We usually fill them | Small dots, visible close up |
| Thinset ghosting | We grind it out as far as your finish allows | A faint grid can stay |
| Trench lines | We usually clean and fill them | A band of a different shade shows |
| Cracks | Varies by crack. We often clean, fill, and grind them flush | A visible line, and the repair usually still shows |
| Chips and flaked spots | We usually patch them | Patch looks different from the slab |
| Old paint or sealer | We usually grind it off | Usually comes off clean |
How to think about a remodel floor
A salt and pepper finish is a remodeler’s friend. An even, fine texture across the whole floor gives your eye something to look at besides the slab’s history. Cream hides almost nothing, so we usually suggest it for slabs without much history.
When a thin topping or overlay is the better answer
Sometimes a close look or a test patch shows a slab that's too patched, too uneven, or too damaged to give you a floor you'd enjoy. Then a polishable overlay can cover it with an even new cement layer, which we grind and polish.
What you gain is consistency. What you give up is the original slab’s character, plus a little extra floor height you'll need to plan for at doors and thresholds. There's more in our polishable overlays guide, and our guide on whether existing concrete can be polished covers how we check a slab. Either way, you still pick how much stone the finished floor shows, and our aggregate exposure guide walks through the choices.
Where polishing fits in your remodel
Timing is the part remodelers most often get wrong, and it's usually easy to plan for.
Polish after the messy trades, before the finishing ones. Framing changes, plumbing, electrical, and drywall all belong before we polish the floor. Cabinets, trim, and paint go better after, with the floor covered.
Decide baseboards early. If we polish before trim goes on, the floor runs cleanly to the wall and the trim sits on top. If trim is already on, we have to polish right up to it. It can be done, but there's less room for error.
Keep cabinets out until the floor is done if your plan allows. Polishing around an island that's already in means hand work in a tight space. That usually costs more, and it often doesn't look as clean as one open floor.
Plan for protection afterward. A new polished floor with other trades still coming through needs covering, and the cover can't leave sticky residue behind.
Go room by room if you're living there. We can often do a remodel in stages so part of the house stays usable, as long as we agree ahead of time on how people get in and out.
The order of steps for remodelers
- Remove the existing floor covering and tack strips completely.
- Have someone check the bare slab before you commit to a finish.
- Ask whether a ground test patch at the finish you're thinking about makes sense for your floor.
- Pick how much stone you want showing, knowing how glue removal affects it.
- Agree on how we'll repair cracks, trenches, and tack holes.
- Get the finish in writing, including what's not covered.
- Schedule the polishing around the rest of the remodel.
Send photos of the bare slab and the rough size of the room. One of our estimators usually gets back to you within one business day with a first read. It's a first look, not a quote. It may also tell you whether an overlay looks like the better fit for your slab.
Every project starts with an on-site evaluation. Actual scope, pricing, and expected results depend on your specific substrate condition, environment, and project requirements. The website describes our services in general terms. Your signed proposal governs the actual work.